0. Materials
- Deck
- Griptape
- Package of skateboard hardware (8 nuts, 8 bolts)
- 2 Trucks
- 8 Bearings
- 4 Wheels
- Razor blade
- Skate tool (or tools with equivalent capabilities)
1. Applying griptape to your deck
Applying the griptape may seem simple like applying a sticker, but it is slightly more complicated. It is much larger and requires precision to apply properly and avoid complications such as air bubbles or being off-centered.
Take the protective backing off of the sheet of griptape and do your best to avoid touching it. Hold the sheet of grip on top of the deck, touching it to the tip of the nose and tail. Center the grip and press down in the middle when you like where it is to keep it in place.
Slowly work your way out from the center to the nose and tail while trying to avoid creating pockets of air (these can be fixed later by popping them with a razor and flattening them out with your thumb).
When you are finished pressing the grip onto the deck, scrape the griptape along the border of the deck with a metal tool like a screwdriver to make an outline of the shape of the deck.
Hold your razor blade upright against the far-side of the deck with the blade facing towards the arm you’re holding it in, cutting along the outline you created. As you approach the nose and tail, rotate the skateboard counter-clockwise (if you’re left handed, clockwise) to keep the blade on the far-side edge of the deck.
After you cut off the excess grip, use the scrap griptape to sand the edge of your skateboard. This will make the edge of your grip flush with the wood, preventing it from peeling up in the future.
2. Attaching trucks
The first thing you’ll want to do after applying griptape is attach the trucks. Start with identifying the location of each hole in the deck by pushing the bolts from your package of hardware up through the bottom of your deck with enough force to slightly raise the griptape in that spot without poking through. Then, from the top, poke the bolts through the holes. Poking holes from the top ensures that the grip tape will not rip more than anticipated.
After repeating for each bolt, you are ready to slide the trucks onto the bolts. For the skateboard to turn properly, ensure the trucks are oriented with the kingpins (the part in the center with the large nut) pointing toward the middle of the deck.
After sliding the trucks onto the bolts correctly, loosely hand-tighten all the nuts onto the bolts to prevent them from falling out. Tighten each bolt incrementally alternating from left to right. This helps the board maintain a straight path when it rolls freely. Lastly, don’t over-tighten the bolts!–The heads of the bolts should be flush with the grip.
3. Pressing the bearings into the wheels
Take all the pre-tightened nuts off of your truck axles. Position your skateboard on its side, with the edge of the deck and the tips of one side of the axles making contact with the ground. Slide a bearing onto an upward-facing axle with the bearing’s rubber shield pointing down, then slide the wheel onto the axle
Press the wheel down evenly onto the bearing using your body weight. It will be a tight fit, but the bearings should press right into place. Repeat for each side of all 4 wheels for a total of 8 bearings (2 per wheel).
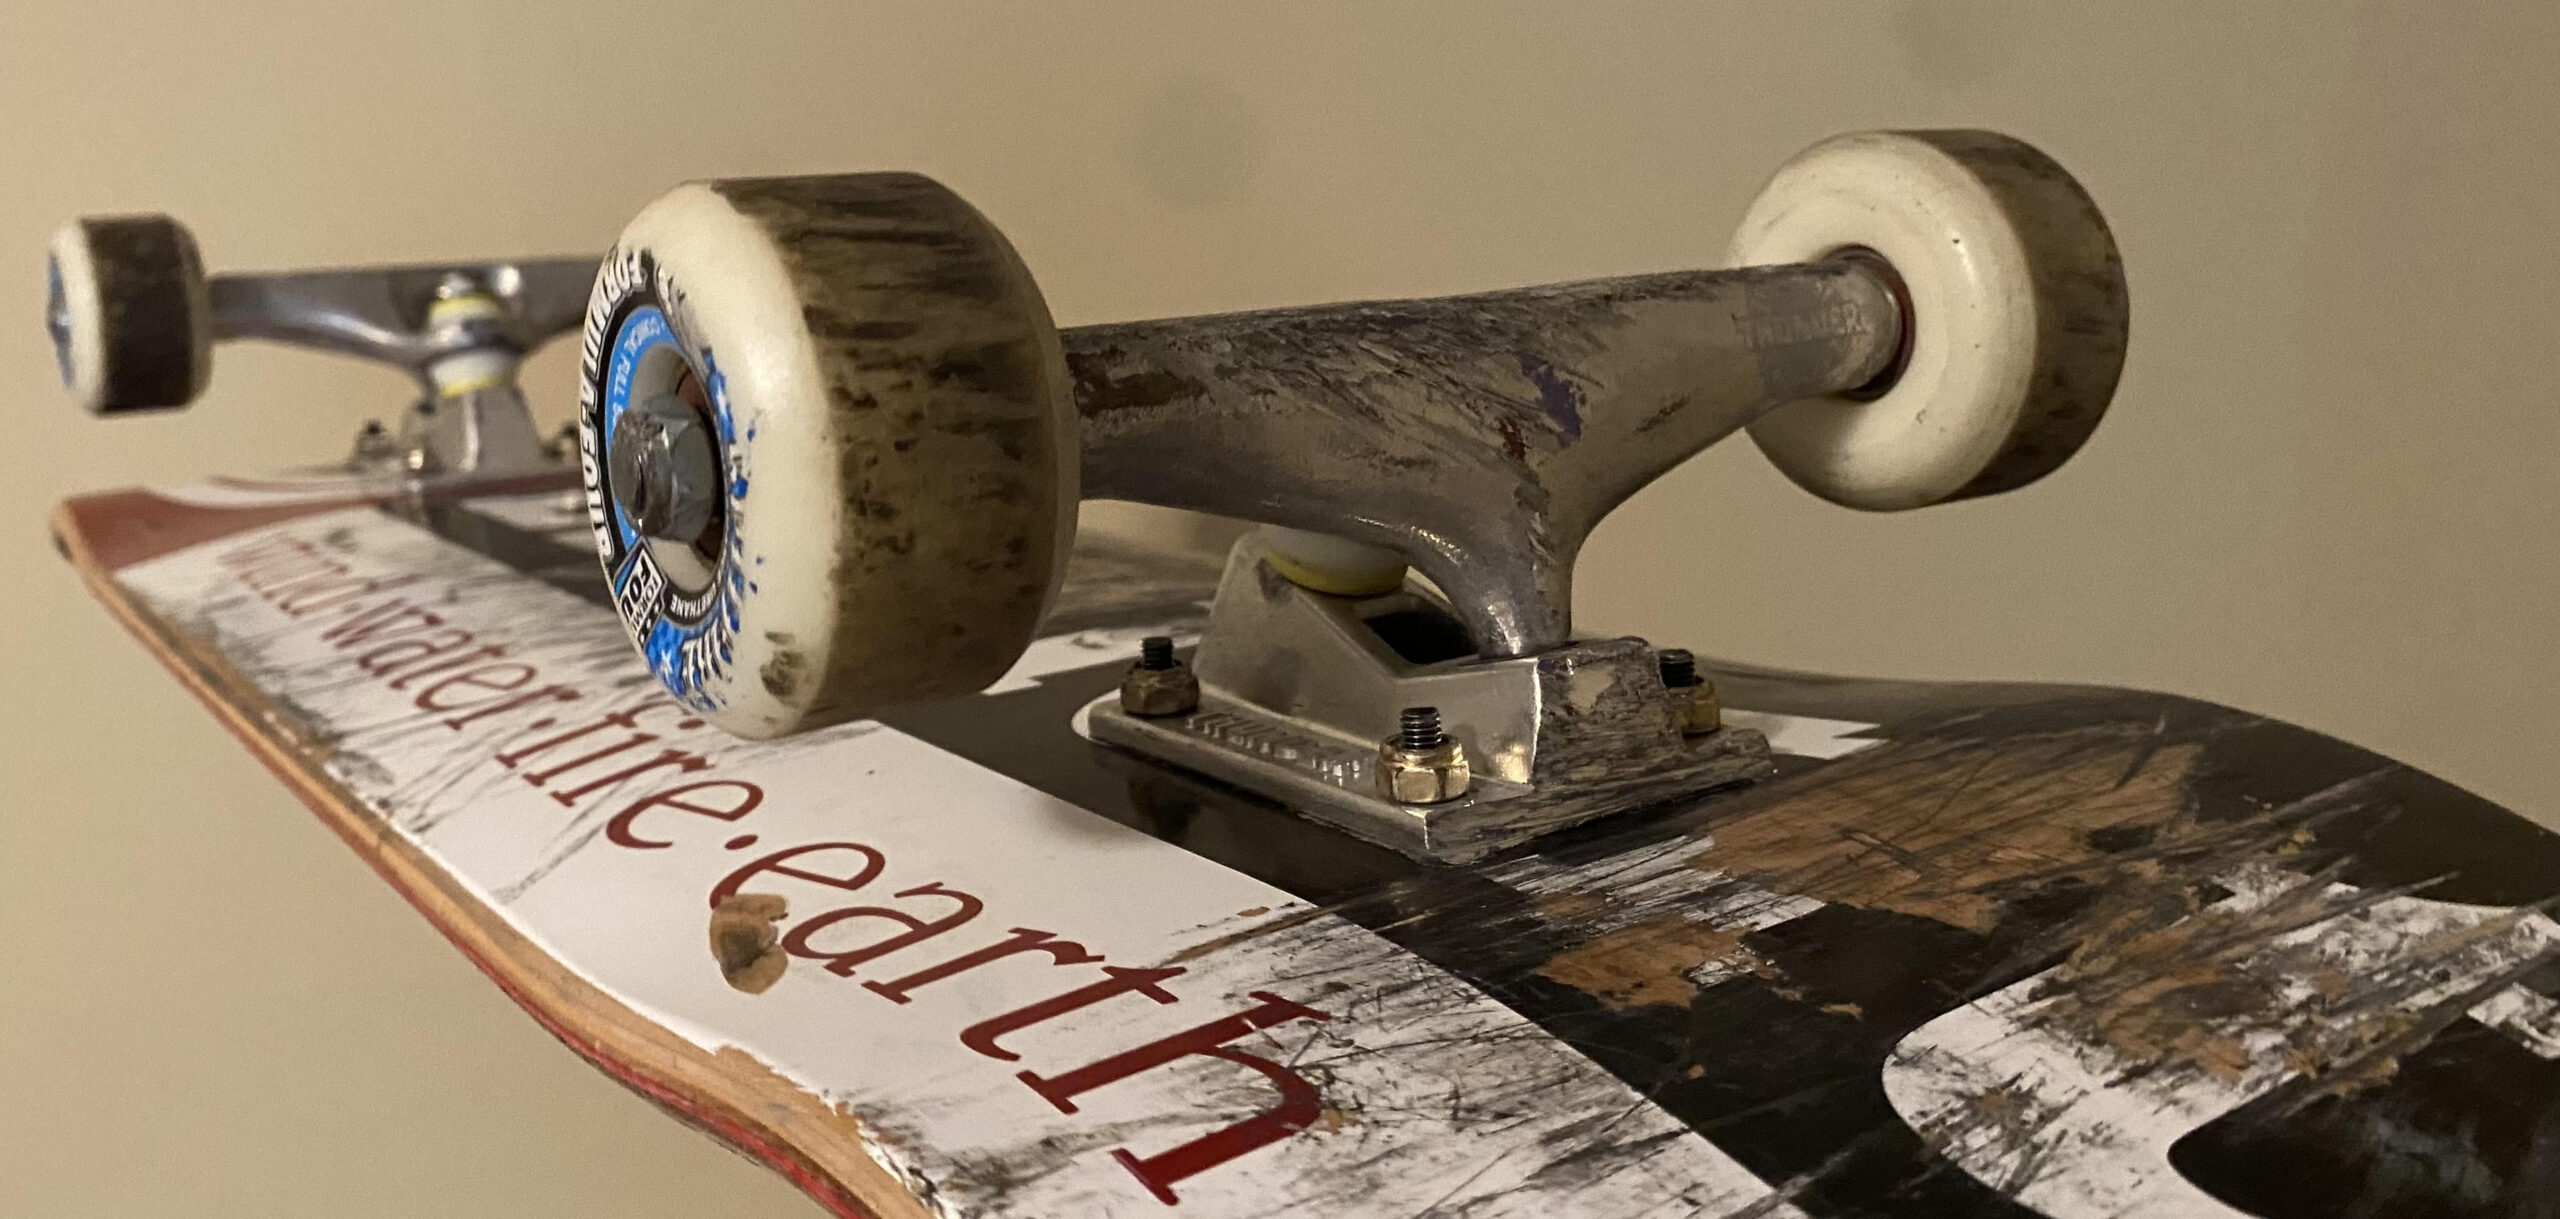
4. Putting the wheels on
After each wheel has been fitted with two bearings, you are ready to put them on the trucks. It doesn’t matter which side of the wheel faces outward. In fact, some skateboarders actually prefer the clean look of the blank side of the wheel facing outward.
Slide a wheel onto a truck axle with the side of your preference facing out, then tighten the axle nuts down so there is some wiggle room (about 1-2 millimeters) for the wheels to be able to spin freely.
5. Adjusting Truck Tightness
Now that your skateboard is completely assembled, you are ready to adjust your trucks. Find a substantially sized flat area to ride your skateboard.
Get on your board and turn left or right. If you are not turning as much as you’d like, tighten the nut in the center of each truck (called the kingpin nut). If you are turning too much, loosen them.
I find that incrementally adjusting the trucks by ½ and then ¼ turns (for more precision) is the best way to find your personal sweet spot without tightening one truck more than the other.
6. SHRED!
You’re finally done setting up and adjusting your skateboard; go outside, shred, and let your creativity flow! If you are new to skateboarding, want more tutorials, or are interested in seeing reviews of various products and skateparks, stay tuned to my website for more content!